

Everything was neutral which was good. All the hardware is brushed nickel which would have been my 2nd choice but that's okay. The vanity is cherry like the other cabinetry in our house. I showed you some changes last week, HERE, but since then I changed up some accessories. After seeing the pictures I thought it looked a little cold with all the silver.
Did you ever go to a model home and wonder why their bathrooms look so good? Chances are the decorator didn't just pop into Bed, Bath and Beyond and pick a shower curtain off the shelf. They most likely picked out an expensive fabric and had it custom made. And here's another important difference. If the ceilings are high (like mine) they probably hung it close to the ceiling. This trick makes the whole bathroom look grand. See below.

Here the designer went with a box pleated valance and a fixed panel. Notice you can't see the rods. You can't tell how high these ceilings are but they went all the way to the top with the curtain. ( love those butterfly prints above the toilet!)
In my quest for a "decorator" look in my bathroom I attempted to make a custom fabric shower curtain. I went to my favorite place to pick up cheap but nice fabric, Old Time Pottery. They have a table in the back with remnants of all sizes that sell for $5.99 a yard. I had my trusty paint swatch with me and had an idea what I was looking for. Sure enough, there it was and there was 4.5 yards of it. If my math is correct, that's less than $27.00. Not bad and it should be enough to make all three pieces that I needed..

A bathtub fits in a space 72" wide and fabric comes in a smaller width. I still needed to have a traditional liner since, unlike a model home, this shower will be used. After some thought, I decided to do a deep valance across the top with a full length panel to one side. Then underneath this I would place my tension rod with an ivory curtain liner. I needed 2 shower rods that screwed into the wall since this fabric was heavy. I went to Home Depot where they had a brushed nickel double rod for $40. No, thank you! Since I was covering the rod, it didn't seem necessary to have it be attractive, so I bought 2 cheap rods for less than $15.
I measured for the side panel and cut the fabric with enough extra for a rod pocket on the top and a hem at the bottom. Then I ironed and hemmed (glued) all the sides. Next, I took the remaining fabric and cut it in half for a 2 piece valance. I did the same routine with those 2 pieces, iron and glue.


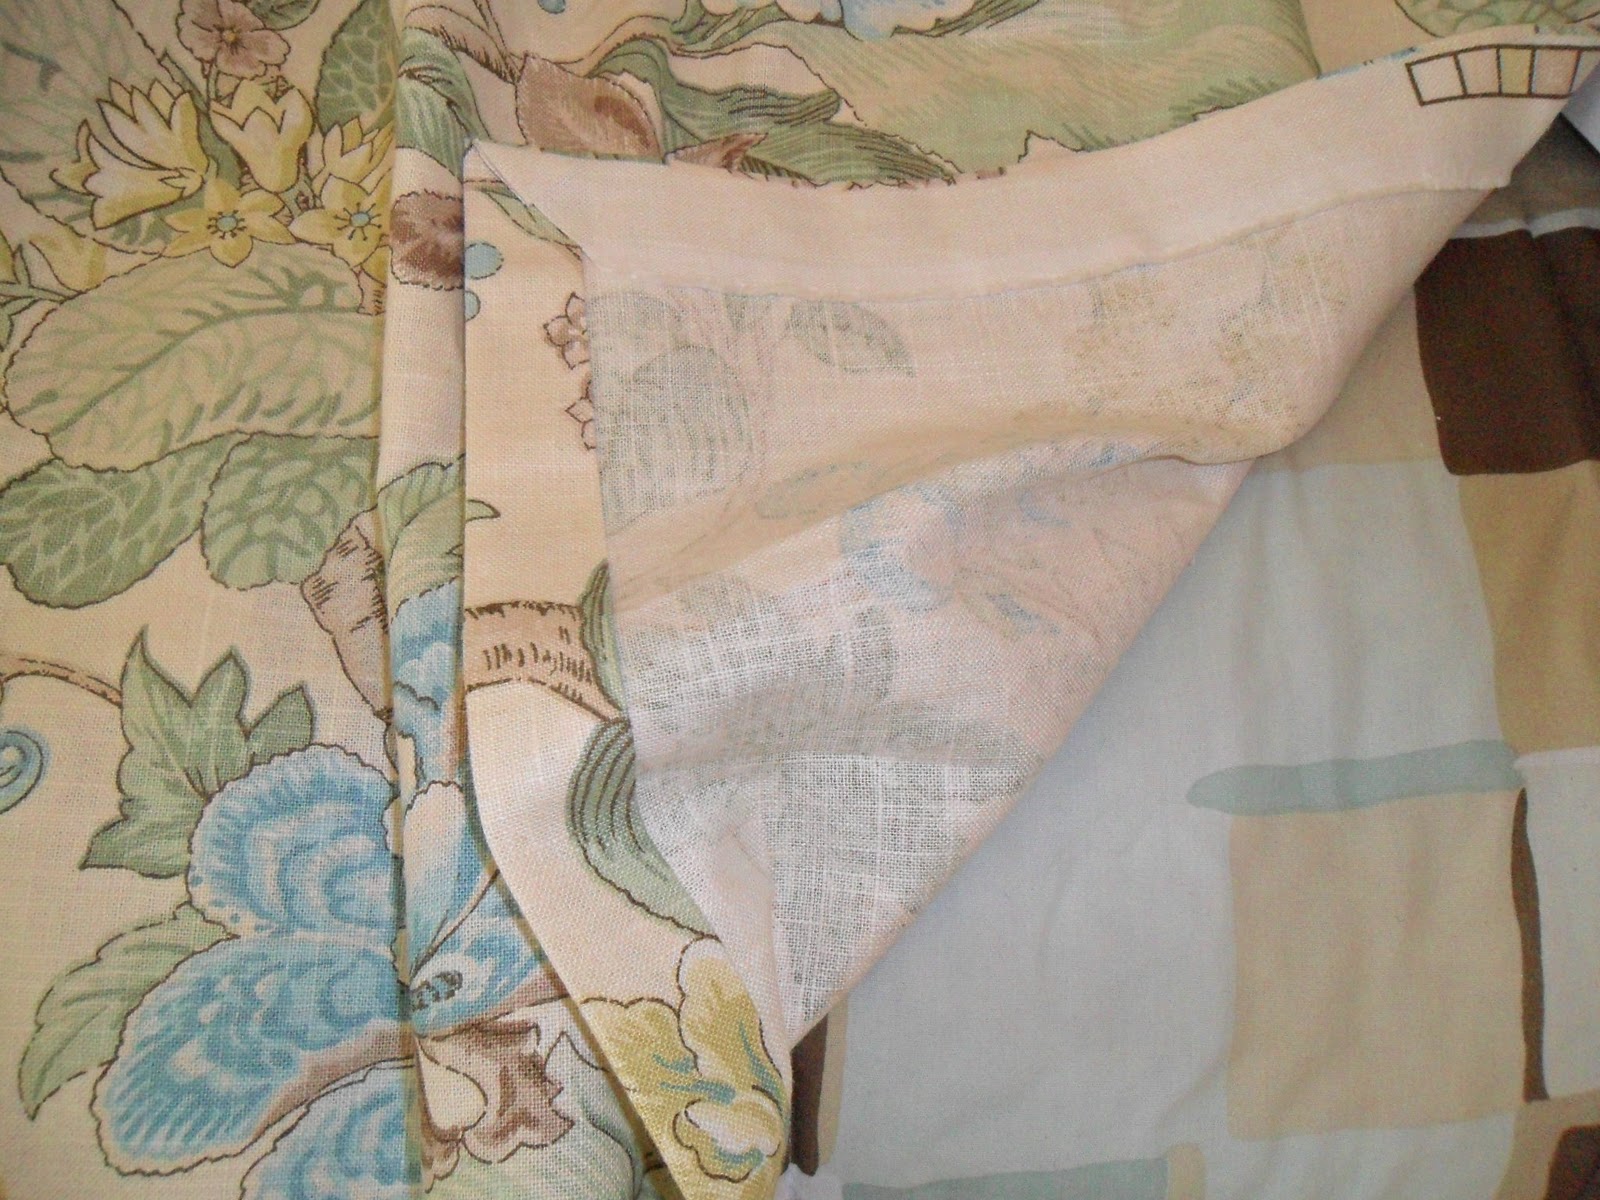
I put the two valances together and one was a little shorter so I made the rod pocket a little deeper. I put them on the rod and they looked fine.
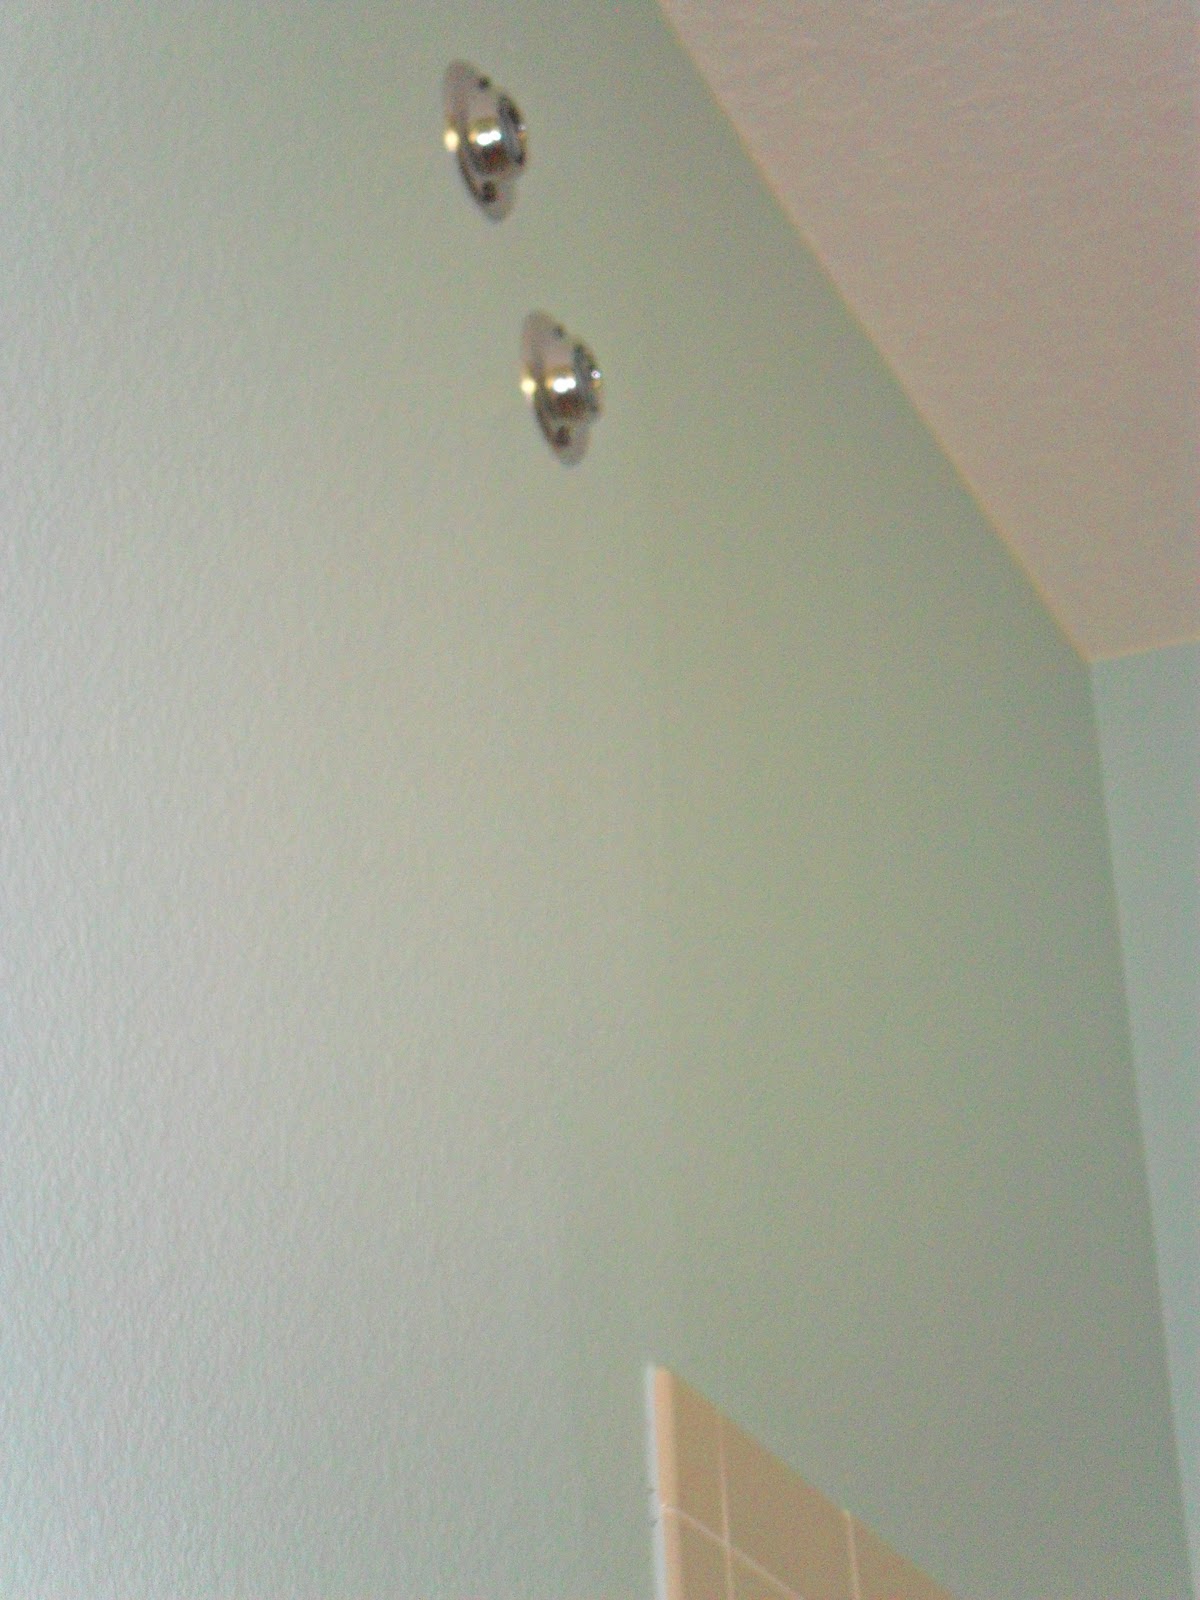
My husband hung the two rods about 10" from the ceiling and staggered them with one slightly below and behind..
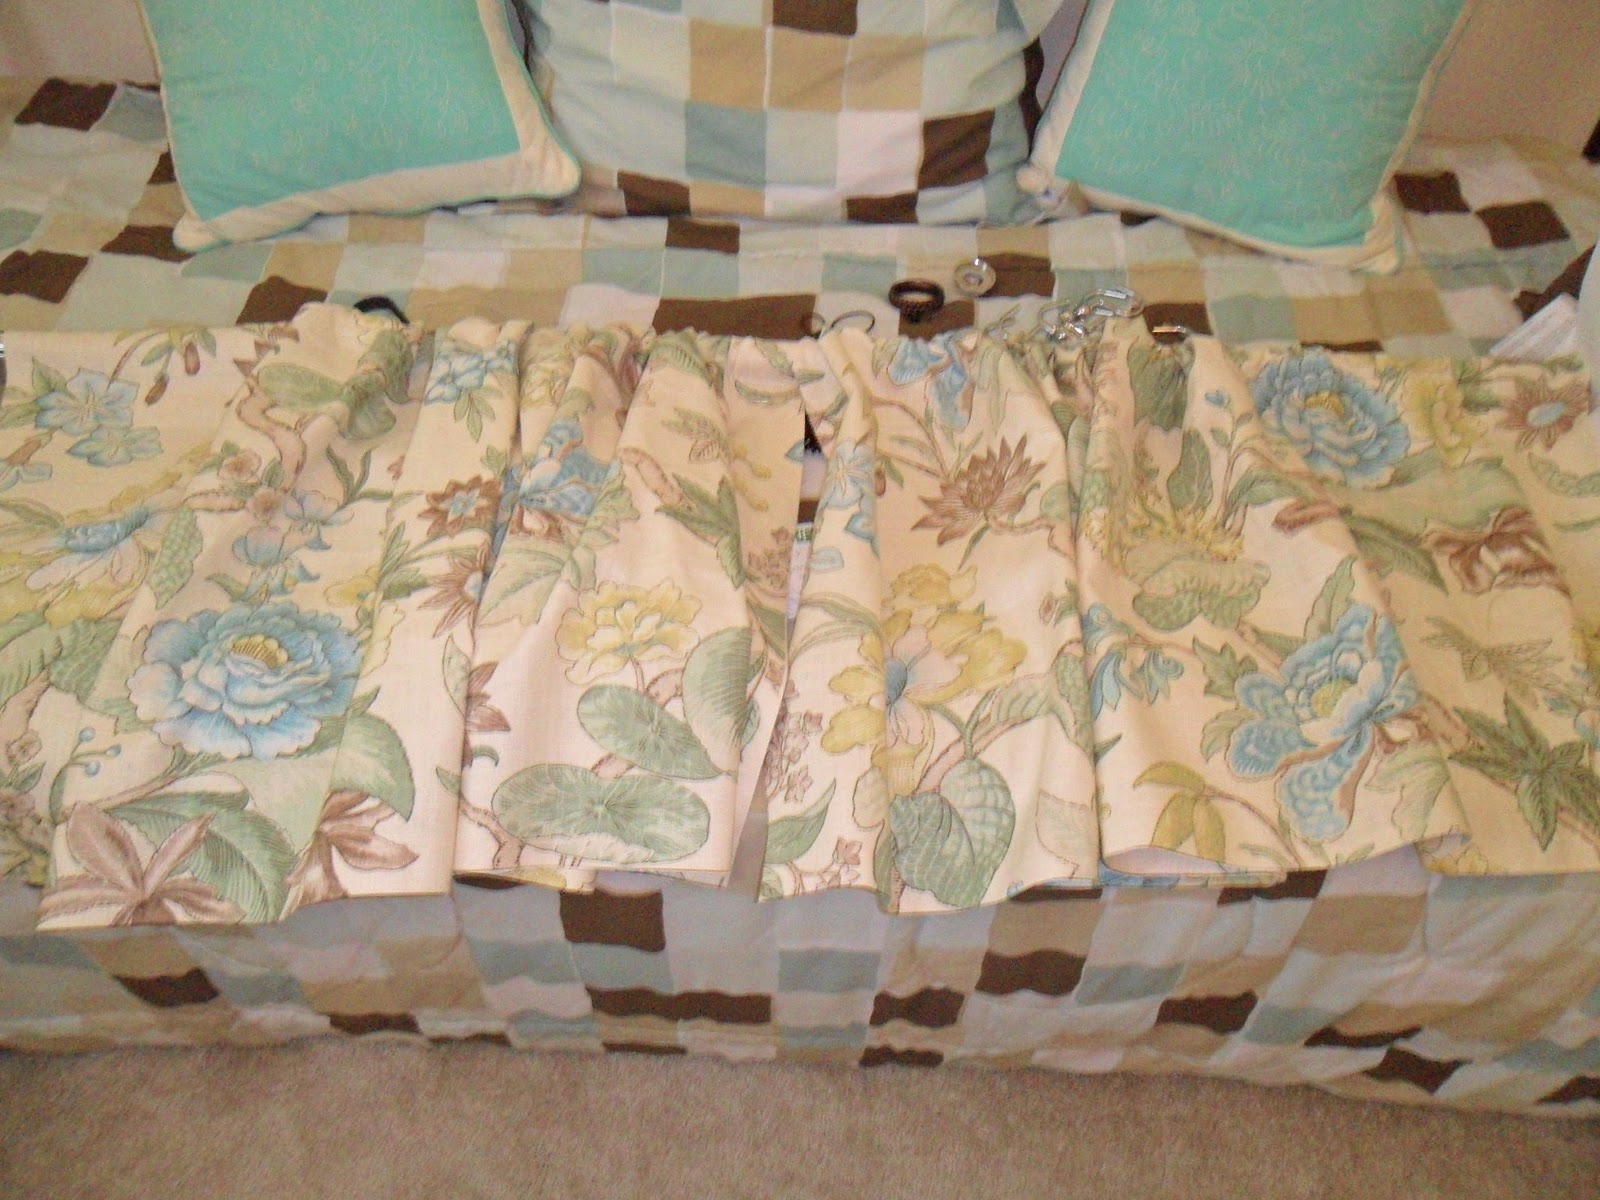
Then I put the panel on one rod and the two valances on the other rod and he finished attaching them to the wall.


I want to be perfectly honest about this project so I must tell you that for some reason the valances were not the same length, so in these pictures I pinned one side up. I swear they were even before they were hung. So, I will have to do some repair work. The most important thing to remember about DIY is that you will fail many more times than you will succeed.
I bought a new curtain liner and after I opened it I found black spots all over it. I ran it through the wash and still black spots! Second liner, no spots but I tried to iron out the creases and that didn't work. Ran it in the dryer with a damp cloth. Didn't work. So, it has creases. I know they will come out in time. Please see above quote about DIY.
The liner can also be hid behind the panel if I want.


I added an aqua cotton rug to the floor and some different accessories. I may use a tieback with the panel. After I do my little repair job, I think this will come out as I envisioned it.
I added the tieback and I think it's a keeper. What do you think?

The tieback is from Tuesday Morning. They have great prices on tassels!


I added some new towels, a new little bath plaque and some finger towels on a stand I forgot I had.


I'm usually not a fan of signs that state the obvious (yes, this is a bath!) but the colors were really perfect and the artwork is cute. I break my rules all the time! I am guilty of adding a "Laundry" sign to my laundry room recently. What can I say, the color and the size were right and it looked French to me. I have removed some of the things from the vanity also. It was looking way too crowded.
Here's a couple of tips that helped me with this transformation:
1. Try to buy the best quality fabric you can afford. Always, always buy more than you think you are going to need. Trust me, you will need it!
2. Keep a swatch of your paint color (or fabric color, towel color etc.) with you at all times. Blues can be so different. I would come across something I thought was the right color, hold it against my swatch and it didn't match at all.
3. I always keep a tape measure with me. Things look completely different scale depending on their surroundings.
4. Measure and measure again when hanging the permanent rods. Use screw anchors because 110" of fabric weighs more than you think!
Thanks for visiting and seeing my new shower curtain. Floral may not be your taste, but remember you can use any fabric you choose. You will have so much more variety than just what's offered as a standard shower curtain. I'm going to tackle a modification of the curtain in my pool bath next. I'm on a roll!
Make sure to visit my sister, Elaine, at Creating Wonderful Spaces to see what she's changing around this week!. I am also linking up to Debbiedoo's Newbie Party.